網民又上載「不雅潛力圖」吸引 PS,高手將它變成反嘲電影海報系列

網上討論區其中一個常見活動,就是網民會把一些所謂「潛力圖」上載,吸引人們發揮創意 PS 改圖。而潛力圖之中,又以女星們各種有點「引人遐想」、有點「性相關」的影像為主,例如今次就是一幅 Jennifer Lawrence 拿著拉尺的照片,到底網民會改成怎樣呢?
放心,由於玩得太多,這種「不雅預期」反而成為了高手們會諷刺的心態,而 Reddit 用戶 DrWankalot 更製作了一系列電影海報「NSFW Expectations」,把這些萬年玩法來一個顛覆!

所謂 NSFW 即是 Not Safe for Work,通常就是一些露點、不雅、性相關又或血腥恐怖的內容,總之是不適合在公眾場合瀏覽之類。或許你會說,拉尺有甚麼大不了?那麼恭喜你還未被網路污染……
來看看這系列電影海報吧,網友說,看完之後很期待真的出現有關電影……(細心留意的話,海報裏有網民的留言,又或一些諷刺的語句)


去到第七集,還加入了復仇者聯盟……好想看……


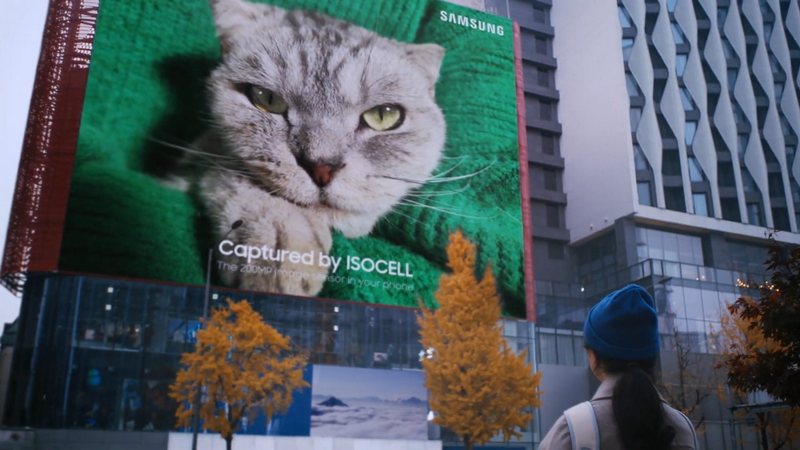
好吧,另一些網民就順手把電影海報「掛」到大廈外牆,真的要上畫了。(笑)

其實以大家愛玩的心理,怎麼可能順著你意去 P 圖?來看看其他網友的作品,例如攻打北韓!?


玩層層疊沒有違和感︰


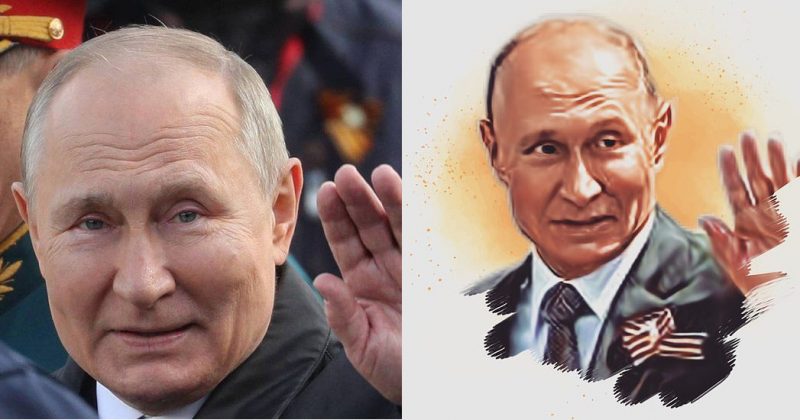
至於是怎樣製作成仿漫畫風格的海報呢?原創作者分享了這個 GIF︰
步驟照抄 DrWankalot 如下︰
1. Create slight S-curve with curves adjustments to bring out the contrast between the dark and light areas of the face. If it is a flat or outdoor image, I’ll use the dodge and burn tool to create the areas of contrast manually (triangle across the nose bridge and cheekbones, etc), example here.
2. Vibrance and Saturation adjustment (+ Vibrance, – Saturation).
3. Use the shortcut CMD+J to duplicate the background layer twice, then with the uppermost layer selected add a High Pass effect from the Filters menu (less than 3 pixels radius, just enough to get an outline of the features).
4. Change the blending mode of this High Pass layer to Linear Light.
5. Merge the High Pass layer with the background duplicate below it, then Filter > Stylize > Diffuse > Mode: Anisotropic. This is what it looks like now.
6. Filter > Sharpen > Smart Sharpen to bring out some of the details (100% with low pixel radius).
7. Filter > Blur > Surface Blur to remove the swirly paint strokes from large reflective areas of the face (cheeks, forehead, etc). You should end up with this.
8. Image > Adjustments > HDR Toning to create a slightly overdone “Shitty HDR look”. [EDIT: I’ll usually skip this step, unless I want the antique poster look]
9. Image > Adjustments > Desaturate HDR layer, then invert the colours and apply the Gaussian Blur filter (~10px). Set blending mode to Soft Light.
10. Use curves adjustment to create a big S-curve on the untouched background layer. CMD+J once more and put it above the “painted” layer. Filter > Other > High Pass between 20 to 50 px. Set blending mode to “Overlay” and adjust opacity to between 20 to 50%. This is mainly for eyes and hair detail – I’ll usually mask out the other areas with a big soft brush.
11. Change layer opacity of painted layer to between 50 to 80% so you’ll end up with: High Pass layer (overlay 20-50%) > Painted layer (50-80%) > High contrast background layer
12. Use it as is, or merge layers and create a cutout with the pen tool with 2px feathering on the edges. At this point I’ll usually add a final colour adjustment to tweak the reds and yellows.
如想瀏覽更多,可按以下連結。
延伸閱讀︰
Source: An ongoing PsBattle series: NSFW Expectations via Reddit
熱門文章
The Nok - 有一個女兒,一個兒子,一個名叫天晴,一個名叫天朗